
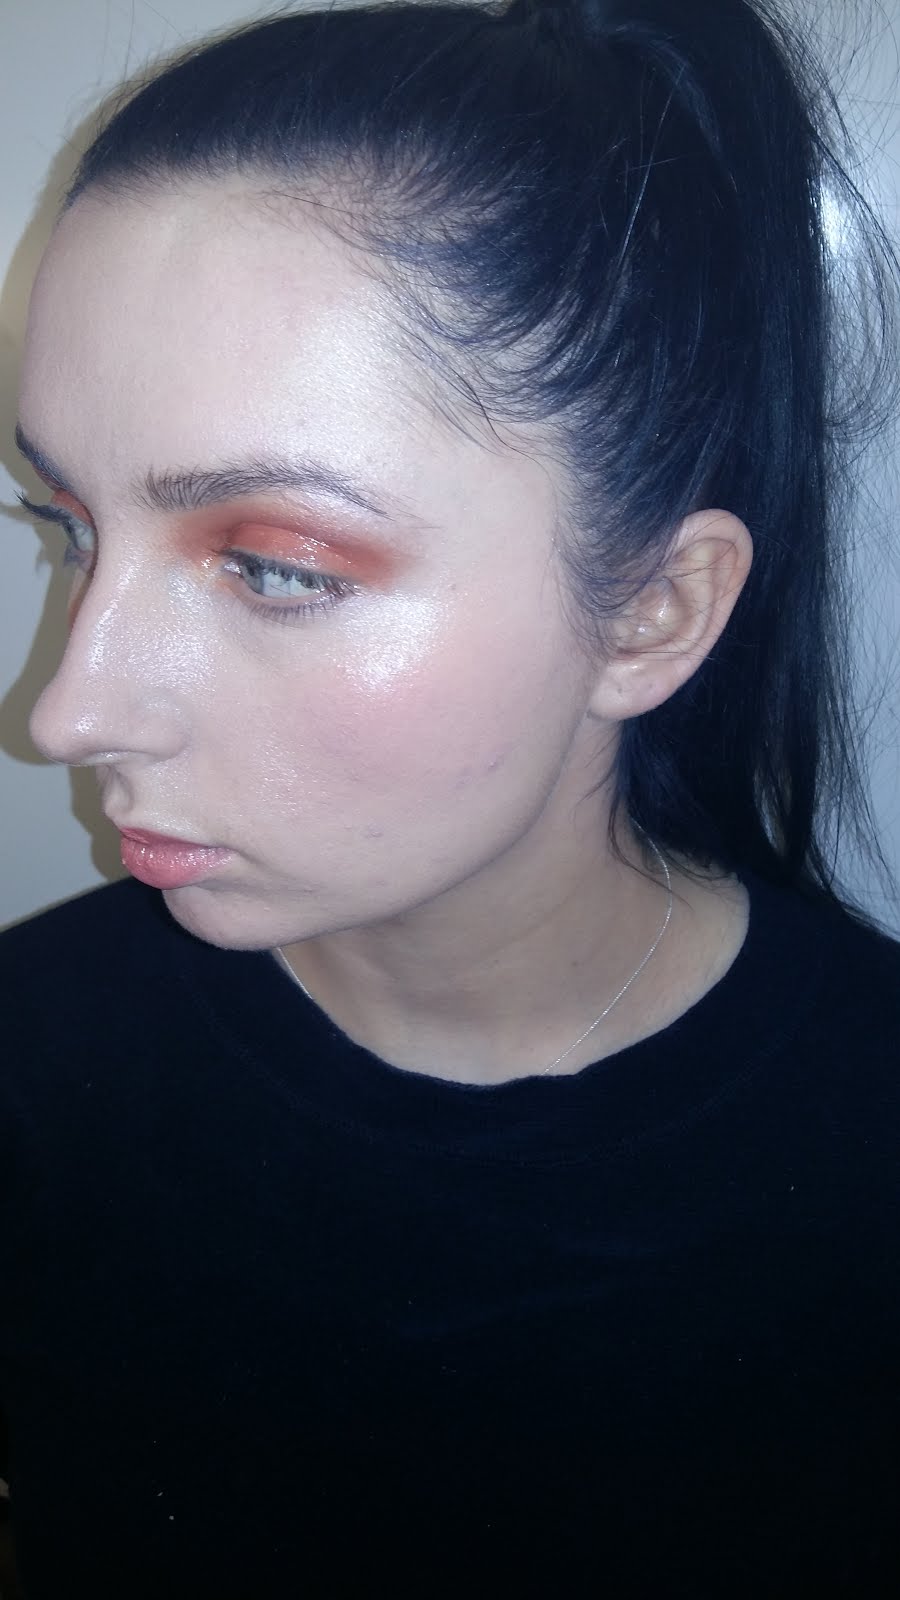
( Model- Georgia Hallgalley, MUA- Lauren )
So after watching Lauren demonstrate we all went off to create an SS16 look. I firstly cleansed, toned and moisturised of course making sure my canvas is glowing to work on. My model has very sensitive skin so for this I used Simple sensitive as its great for sensitive skin. I do use it in every application really but if a client has a preference and brings their own I will happily use that! But if your ever stuck in what to use I recommend as its great for all skin types!
While the products were setting into the skin I primed the eyes with the BALM primer which I love to use works great! I applied a small amount to my ring finger and applied over the lid and carrying this out on the other lid. The reason for my using of the product as it keeps the shadow to last longer but also enhances the pigments of the colour. So with both eyes primed I began to apply MAC rule to the lids which is an burnt orange colour and buffed this colour out over the eyes and bringing in to the corners of the eyes. Once my base colour was applied to add some depth into the eye lightly worked MAC cranberry into the crease of the eye to add some definition to the socket. Nothing too heavy but just a little something to pick up that crease remember ladies less is more! For the brow bone again I wanted something just to pick up the structure of the eye buffing in MUA highlighter to the brow bone. This highlighter is a beautiful highlighter and is such a cheap buy! Available at all superdrug stores for only £4 the light and dark highlighter is worth having in your make up bags or kits! With the base of the eye basically finished I moved on the applying the brow, a nice natural brow and just combed through brow gel and to give a nice touch brushed them up to give that beautiful fashion look. As I wanted this to be quite a beautiful glossy spring/summer look I applied vaseline to the lids as I've become fond of the vaseline look as I love the look it gives! After when we applied the black smoky gloss eye I try to incorporate it in to some looks I apply as I think it gives a nice touch. To finish the eyes I applied mascara to give more definition.
With my eyes applied and the products should have had time to set into the models skin making it ready for when I apply the base! As my model prefers full coverage as she feels face and body doesn't work for her but I didn't want an heavy coverage so I mixed NC15 MAC full coverage and C1 MAC face and body so this made a light full coverage for the skin and applied this to the skin by buffing into the skin making sure its well balanced and applied well. Because I wanted a clean glossy look I then powdered lightly using Kroylan translucent power to the T-zone and kept the rest of the face dewy and to keep this fresh look applying a peachy tone to the apples of the cheek using illamasqua cream blush in rude which I think is perfect for that peachy summer colour and is most definitely one of my favourite products to use specially to give that summer glow us ladies always want! This product is also so great for the lip giving a hint of peach to the lip so applied little to the lip to give definition to the lip. And to finish this look buffed lightly MUA highlighter to the height of the cheek bones and the bridge of the nose. And our final touch of the rose water to add that extra dewey look.
Products used:
Cleanse, tone, moisturiser: Simple sensitive
Foundation: MAC face and body C1 & MAC full coverage NC15
Powder: Kroylan translucent
Blusher: Illamasqua cream blush rude
Eyes: Primer- The BALM, Shadow- MAC rule, Crease- cranberry, Brow bone- MUA highlighter, Finish on eyes: Vasline
Brows: MAC brow gel
Lashes: MAC mascara
Lips: Illamasqua cream blush rude
Finish touch: Rose water
Evaluation
For this look I really enjoyed applying this look and really loving clean fresh looks for spring/summer! All of the products I used throughout this application I love to use lately especially the illamasqua cream as I just think its a must have for spring/summer! As it gives that flush colour with a glow for those warm summer days! With the final image I do like the outcome but if I could change anything would be less rose water as I did want a dewey look but I feel it looks a little to much? And I need to find a balance as in my term 1 assessment I didn't give enough dewey but this time I feel I went a little too much! But all of this I'm learning from and this blog shows my journey my mistakes and make up's I love. With today this to be a look I need to remember to look back on so I can improve the dewey look for next time!
No comments:
Post a Comment